How to use
Getting Started
You can get to AVR menu with /avr menu command or through the normal Interface/AddOns menu. In the General options click Open scene editor. This will close the main options dialog and open a smaller editor window. Alternatively you can get to the scene editor without going through the options dialog using /avr edit slash command.
All markings in AVR are organized into scenes. To add any markings you first have to create a scene for them. Click at the drop down box at the top and select Create new. You can then give your new scene a more descriptive name just below the drop down box. If you later want to remove the scene click the Remove scene button.
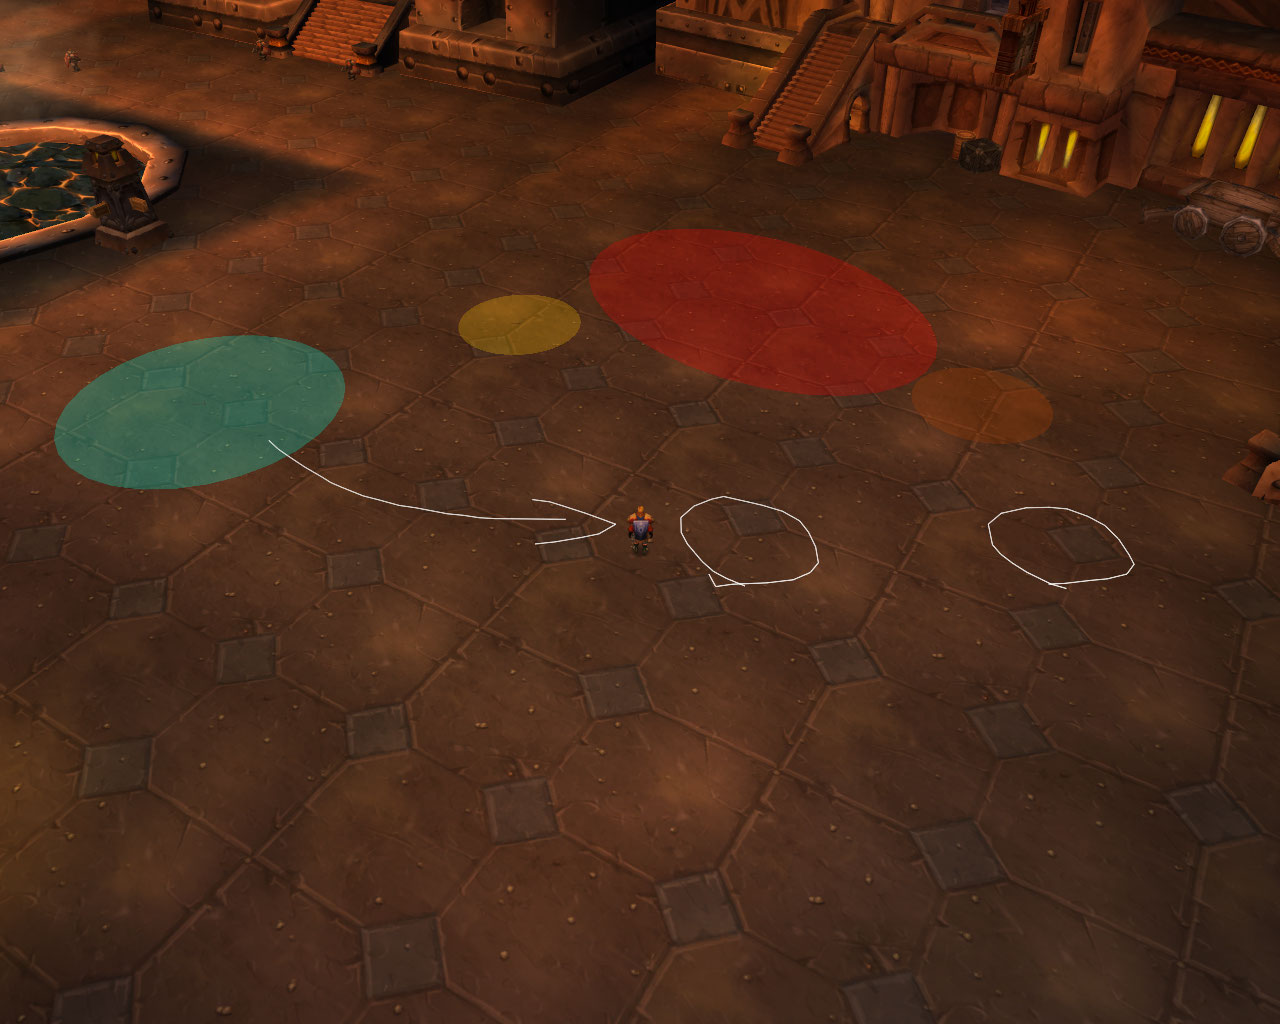
All kinds of markings in AVR are collectively called meshes. Scroll down the editor dialog a bit until you come to the Add mesh part. There should be four buttons here. One adds a filled circle, one a circle with just the outline, one a raid marker and the last one starts free mouse draw. Click on one of the circles. Then place the circle in the 3d world using your mouse.
To move a mesh, simply drag it in the 3d world. Just clicking a mesh selects it so that you can change its properties in the editor window. You can change name, color, size and shape of the mesh by using the controls in the Edit mesh part of the dialog. There is also a button to remove the mesh from the scene.
The pen button starts a free mouse draw. Click the pen button, then paint on the 3d world using your mouse. Stop painting by clicking right mouse button.
The main options dialog contains all the same settings as the simple scene editor and some additional more advanced controls.
Sharing scenes
You can share your scenes with others. Select the scene you want to share. Then go to the sharing options in either the simple scene editor or the main menu. Then select a suitable sharing channel. If you selected Whisper then you also need to enter a target who the scene is sent to. Finally click the send button.
You can make changes to your scene and then send it again. This will overwrite your previously sent scene.
You can choose who you wish to receive scenes from. At the top level of the main options you'll find sharing options. Deselect the groups you do not wish to receive scenes from. The last option controls how to receive your own scenes. Receiving them can be useful so you can later check what you have sent to others. Default option is to receive your own scenes but change their status to hidden.
Importing and exporting scenes
You can also export scenes and then send them to others with email or using discussion forums or some other similar medium. In the main options menu find the scene you want to export, then under sharing buttons click the Export to clipboard button. This opens a new dialog with the scene data, copy this to your clipboard and then paste it outside game.
To import a scene first copy the scene data to your clipboard. Then open the main options menu and go to Scenes/New scene. Press the Import scene button to open the import window. Paste the contents of your clipboard there and then close the dialog. The scene should be added to your scene list.
Note that importing a scene will not overwrite previous version that scene. Instead you will have to remove the old version manually.
Range warning scene
You can add a special scene called Range warning scene. It will automatically place markers on players that are close to you. This only works for players that are in the same group or raid as you.
The range warning scene is only available in the main options, not in the simple scene editor. Go to Scenes/New scene and then select New Range warning. The scene will appear under Scenes options group. Selecting it will reveal various options including the range inside which markers on nearby players are made visible.
Comments